Embedded hardware firmware extraction and analysys: Part 1
Published:
What are ARM and MIPS?
The “Advanced RISC Machine” or “Acorn RISC Machine” architecture has been around since the 80s. ARM does not manufacture chips, they license designs and others do the silicon fab.
MIPS (Microprocessor without Interlocked Pipelined Stages) is yet another RISC architecture that has a similar heritage from the 80s but with a much more convuluted history of licensing and purchasing/spinning off from parent companies.
ARM has been well known for low power consumption and relitively simple construction when compared to larger die sized x86 or x86_64 processors. In the silicon game larger chips with more complex features have more manufacturing failures and a lower yield leading to higher cost, smaller less complex chips aren’t as powerful but can return more bang for your buck.
MIPS has similar advantages to ARM but has a different set of registers. It is also more strongly represented in the networking space, Cisco switches to cable modems. Might be open source this year!
This brings up an age old argument between what are known as Complex Instruction Set Computers and Reduced Instruction Set Computers. RISC depending on architecture can have more instructions than a CISC processor so the name can be a bit misleading, the philosophy is that the work per single instruction is reduced by breaking instructions like number crunching and IO.
Get to the point you rambling idiot.
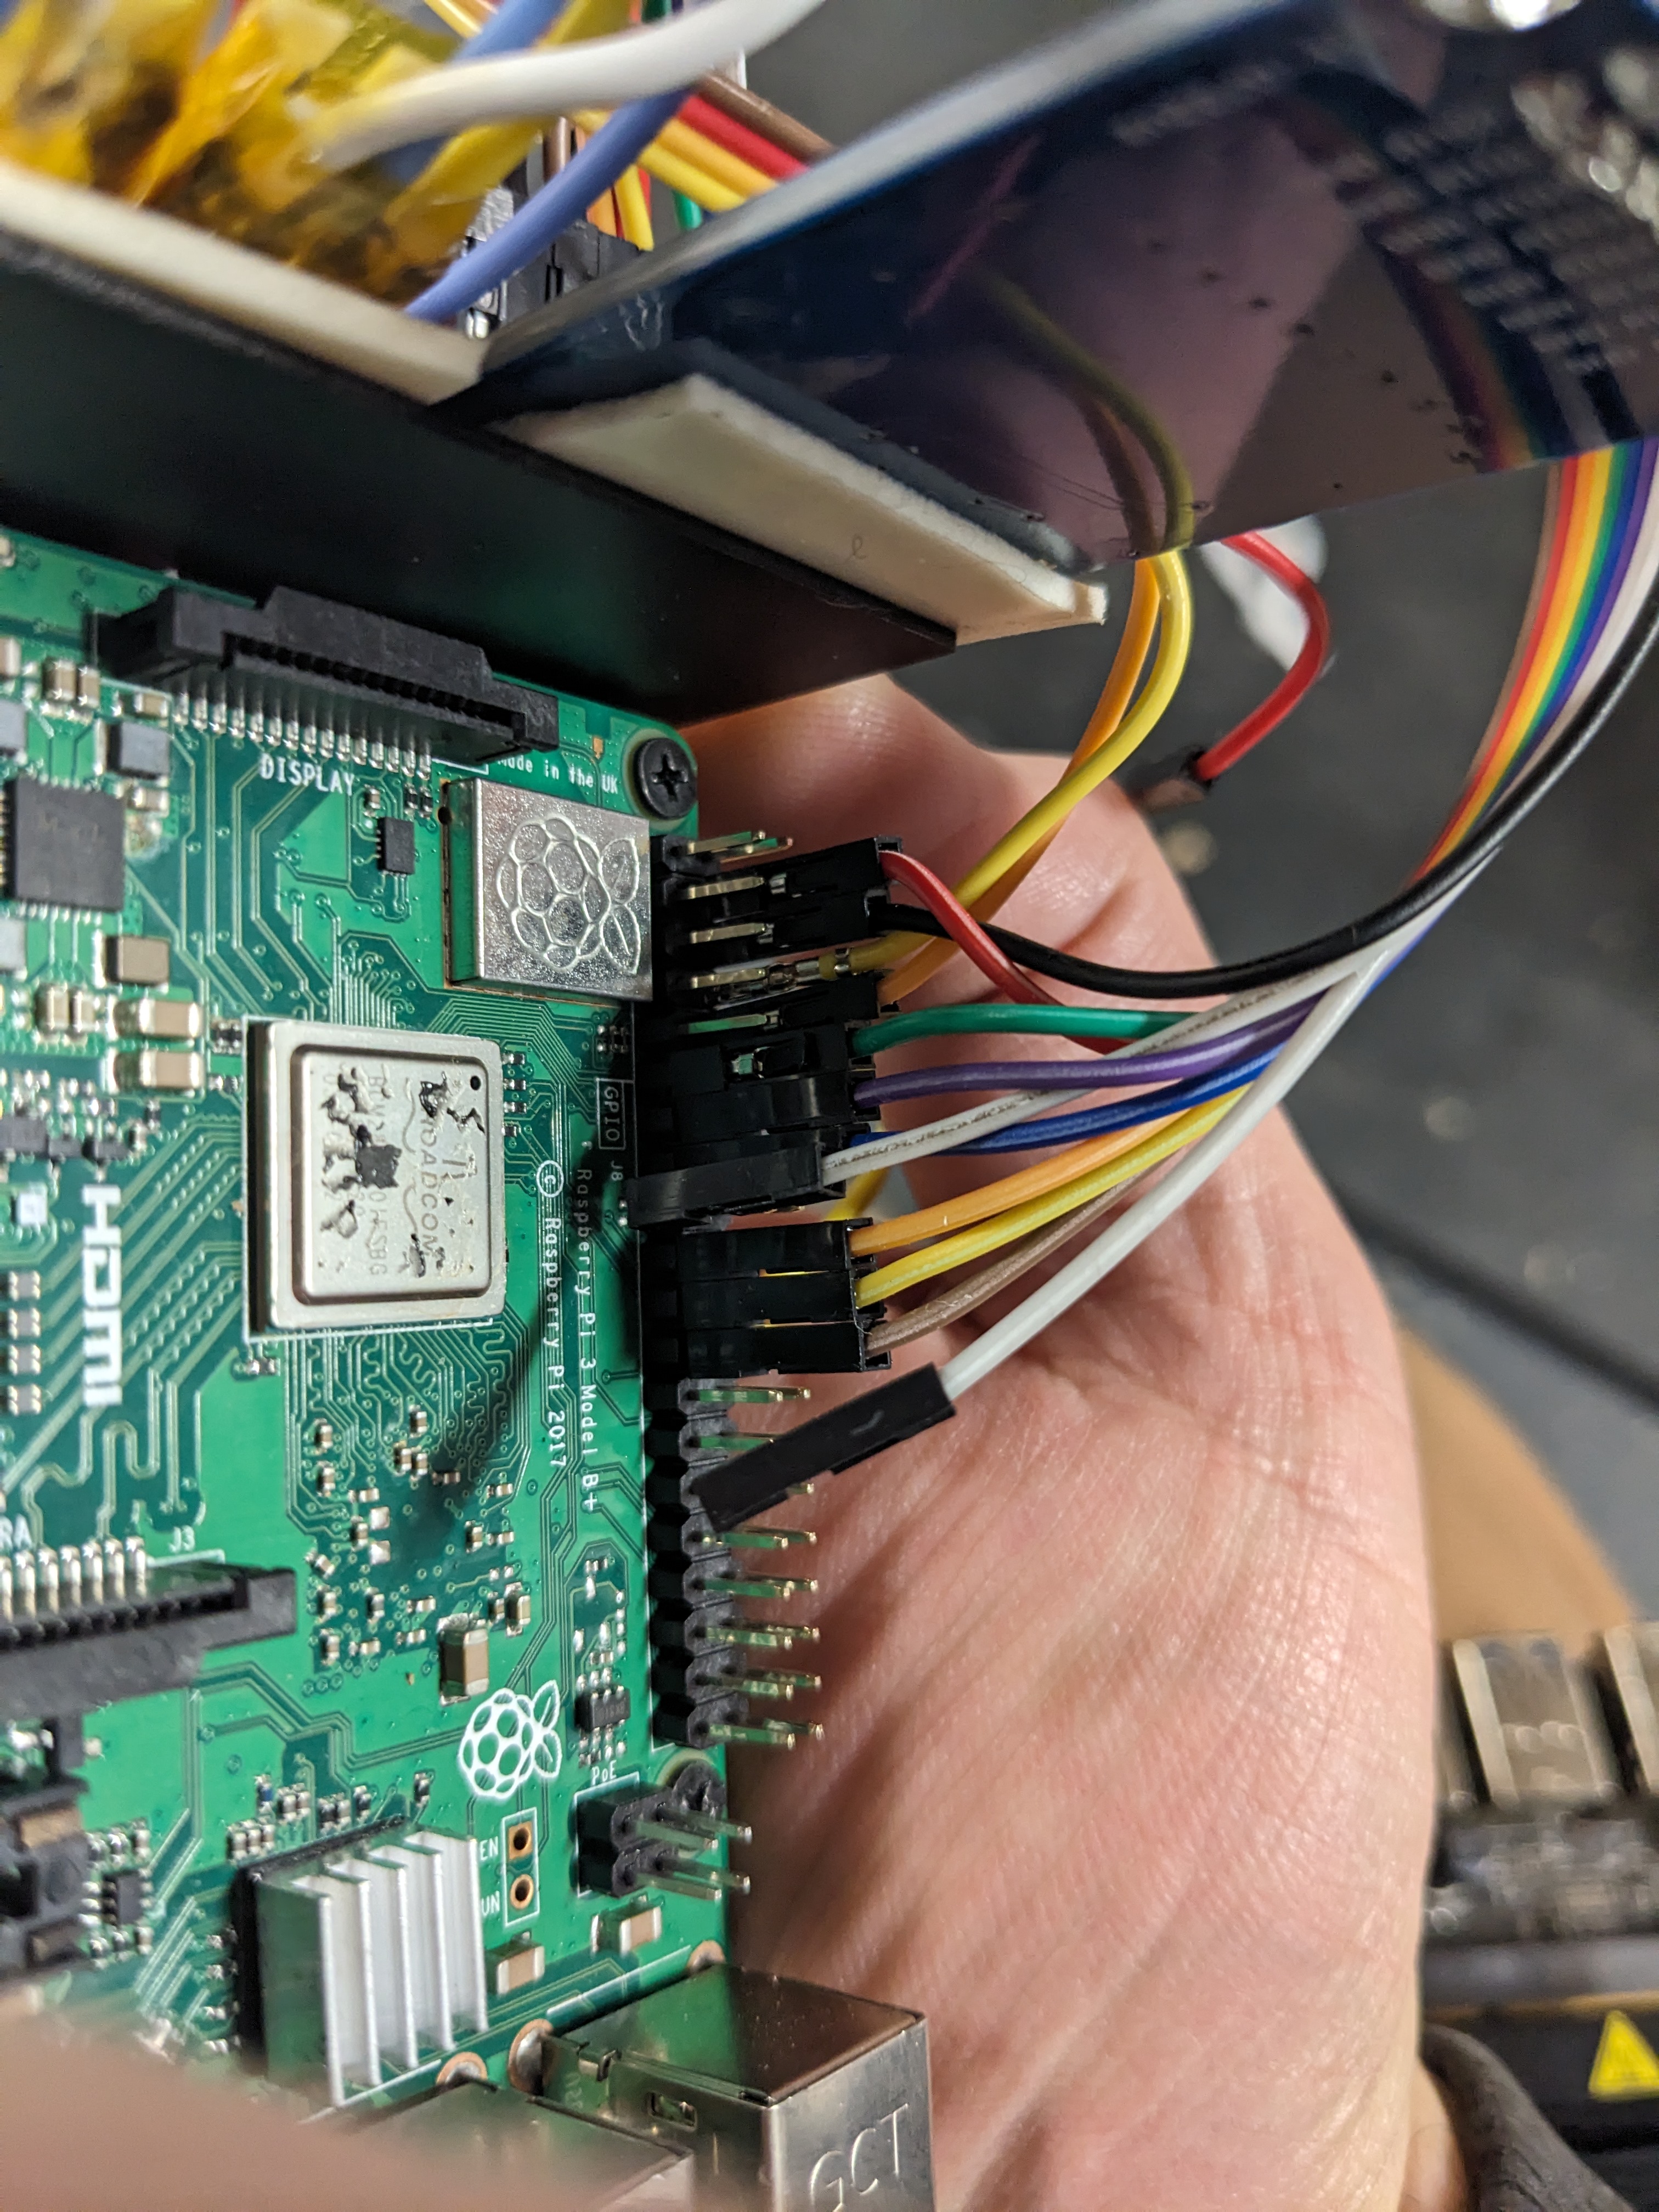
What this means for us is that you get dirt cheap power efficient chips that end up everywhere. Devices like the venerable Raspberry Pi, Apple watch, Fitbit, that new super expensive cell phone, and your new IoT sous vide cooker!
When it comes to implementing a network stack on something small and cheap your options are to go with a Real Time Operating System (RTOS) and debug the hell out of it or just scale up the CPU a bit and slap Linux on it to let that dinosaur do its thing. Linux allows for a much more developer friendly environment at the cost of performance, often times the dev environment is worth the cost of shorter battery life and speed.
The philosophy of Chinesium AKA value engineering.
When you are manufacturing thousands or millions of a product a small cost reduction per item can save you in the long run. I can take a year and build a nice dining table set for you for a few thousand dollars, or you can go to IKEA and get a mostly robot manufactured kit for a few hundred. Manufacturing these consumer devices is very similar, I can go to someone like Faraday Technology Corporation and get a kit to build a webcam that comes with an SDK and board designs that I just need to get my devs to customize and have the hardware manufactured in China with existing tooling to save money. It is very likely that programming and debugging features will be present in the final hardware and software and that lets us attack them.
Common features left behind:
JTAG or SWD connections:
    Used by the hardware fab to verify function and to do initial firmware loads, can be used to dump and modify ram, interact with the cpu and halt or step through instructions, read and write flash memory. Pretty much god mode.
UART connections:
    Similar to above but with a serial interface running at 3.3v or 5v, common to see it drop right to a linux root shell or login prompt or even into the U-Boot interface on boot. Sometimes has its RX line disabled in production or shell disabled in linux.
TFTP booting:
    Often a secondary boot mode that can be enabled through resetting the device and preventing the initial OS load, used by the manufacturer to load firmware at scale, can be used to subvert onboard firmware.
Software backdoors:
    These can be blatant or pretty tricky to identify. Hardcoded root passwords, port knocking, hidden admin web pages, SSH or telnet services on standard or nonstandard ports.
Prepare your environment.
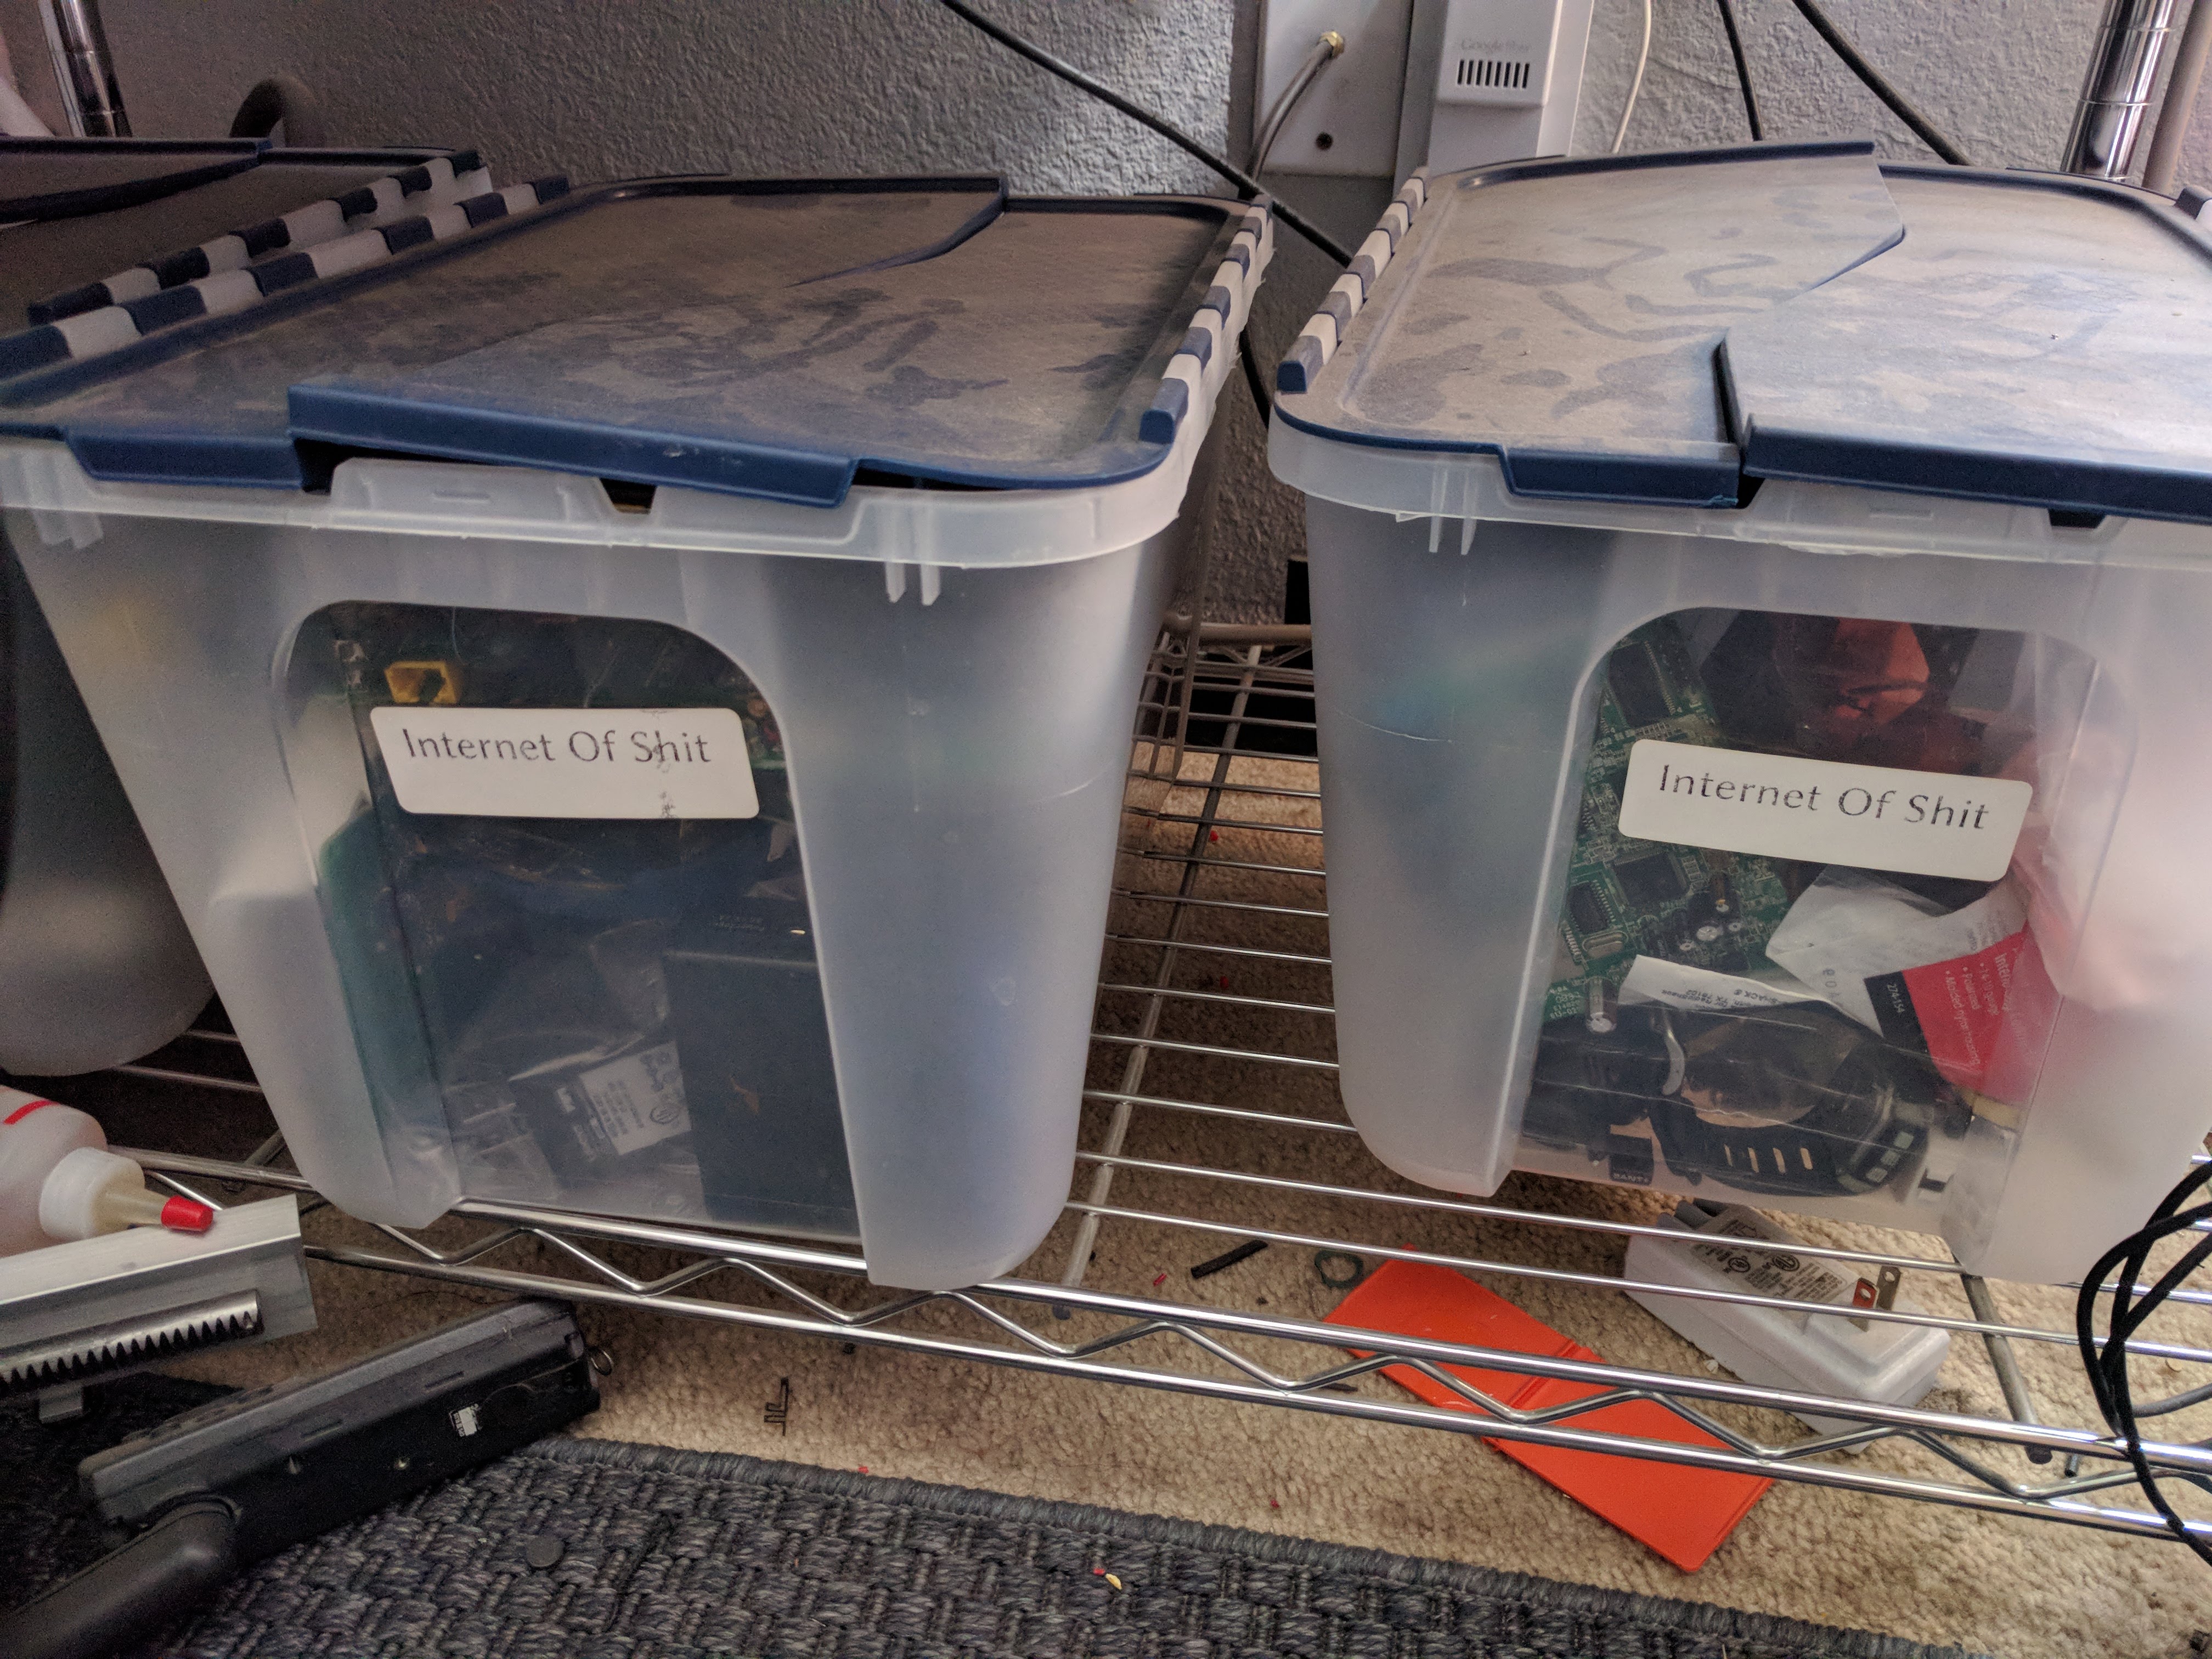
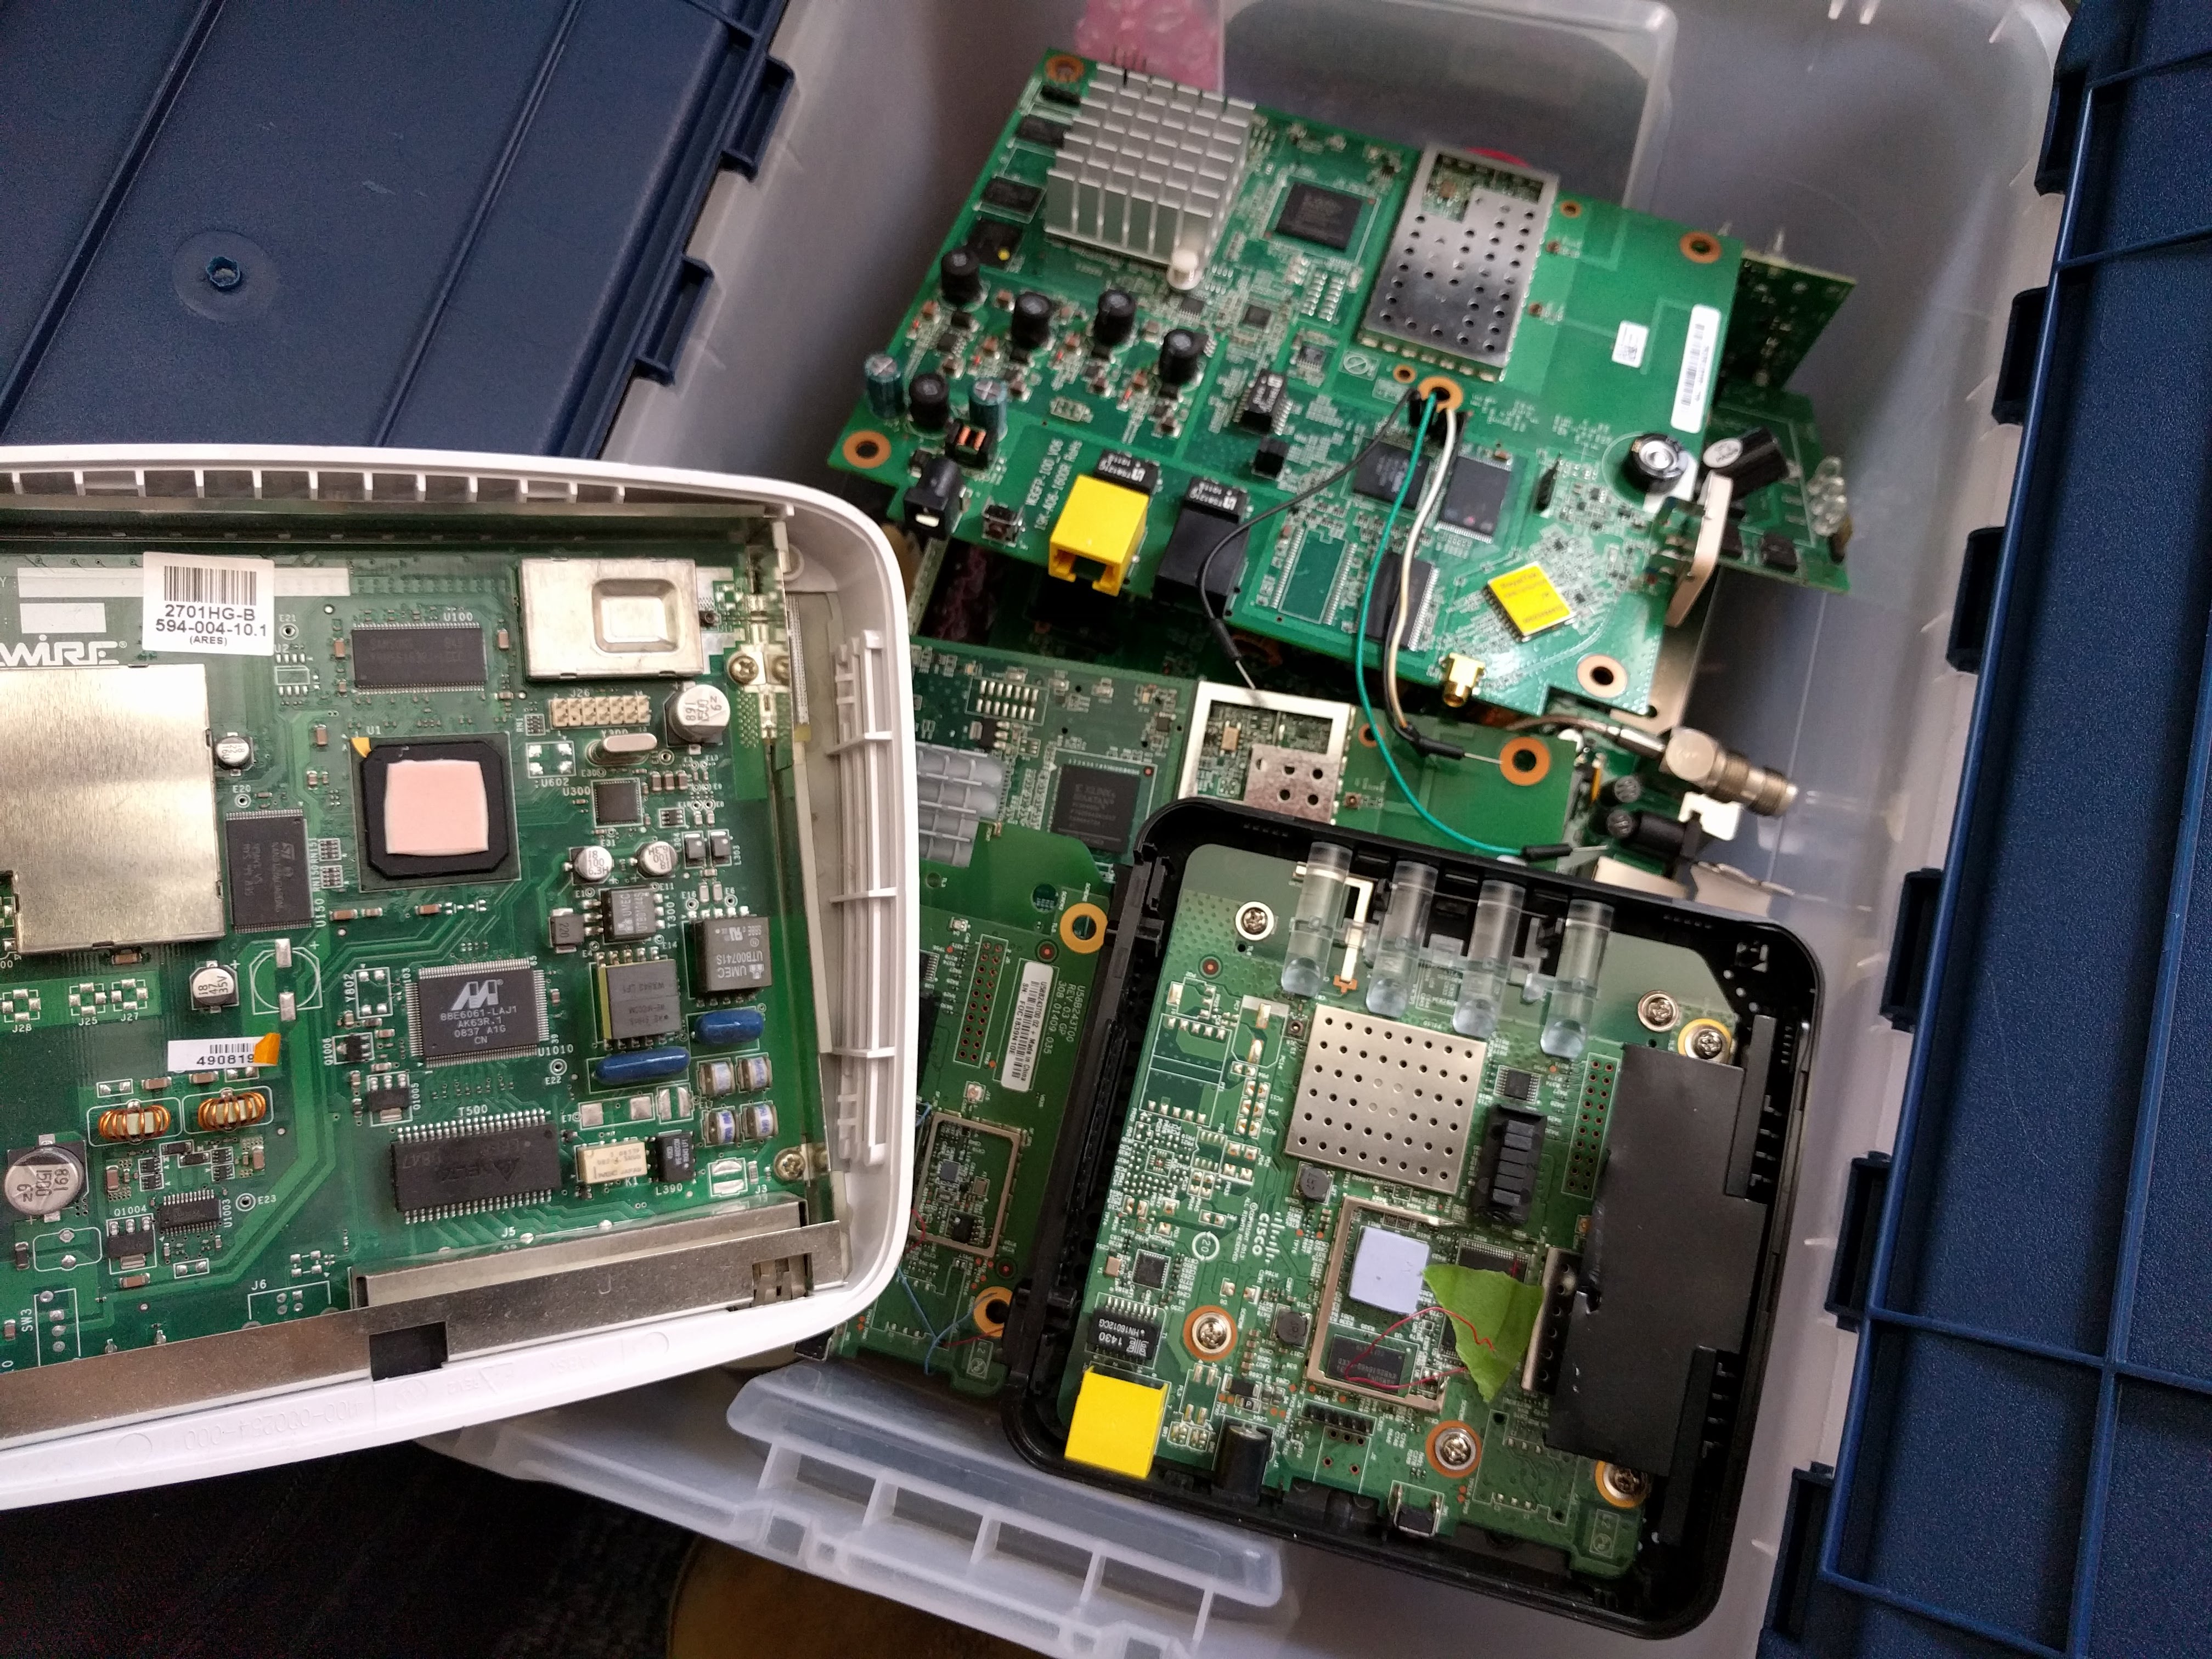
This is a bit of a free form exercise in the real world attack on a poor semi-defenseless consumer electronics device. The format of this will be in two parts, the end of each section is just letting you go at the firmware to look for tresure. I have collected only the finest e-waste from my private reserve for you today.
First steps are going to be following instructions in your Debian/Ubuntu based linux environment. A VM with about 1G of free storage will work, if you decide to go straight hardware then by all means do what you want! A live cd install with no mass storage probably won’t work. If you want to do this some other way (Mac or maybe Windows 10 Ubuntu?) then I won’t stop you, I will also assume that you know how to install the packages you need for your distro.
Why Debian/Ubuntu? This has a fairly smooth install process for the required tools, some of these are severely out of date on other distros. The main reason for this is binwalk and its requirements.
Tools you will need:
proot:
    Similar to chroot but does not require root privs, will be used to run cross architecture binaries. Most of these binaries are built to run in an extremely limited environment and this helps to simulate their natural environment.
qemu:
    Allows you to run ARM or MIPS binaries on an x86_64 host.
radare2: [https://github.com/radare/radare2.git](https://github.com/radare/radare2.git)
    Personal choice for a reverse engineering tool, not for everyone. Optional however, an alternative of your choice is recommended.
binwalk: [https://github.com/ReFirmLabs/binwalk.git](https://github.com/ReFirmLabs/binwalk.git)
    Extremely powerful tool for analyzing firmware binary blobs. Allows extraction of data and much much more.
tcpdump:
    Analyze network traffic.
nmap/ncat:
    Ncat can be used to make network connections and send raw data to a port.
uboot-mdb-dump: [https://github.com/gmbnomis/uboot-mdb-dump](https://github.com/gmbnomis/uboot-mdb-dump)
    Convert what you downloaded in the memory dump from the device over a serial connection into binary data.
Download The Archive
I will be sharing a link that will be good through today that contains this documentation as well as the data that will be used, download this in your VM and extract it.
wget https://example.com/Embedded_Reversing.zip
unzip Embedded_Reversing.zip
Install with the following, if you are working with the material that has been shared then you can run “buildreqs.sh” from that extracted folder.
sudo apt-get install git proot qemu build-essential python -y
cd ~
git clone https://github.com/radare/radare2.git && cd radare2/
sys/install.sh # requires sudo perms
cd ~
git clone https://github.com/ReFirmLabs/binwalk.git && cd binwalk/
sudo ./deps.sh --yes # Requires a Debian or Ubuntu environment, the long steps are available here. https://github.com/ReFirmLabs/binwalk/blob/master/INSTALL.md
sudo python setup.py install
cd ~
git clone https://github.com/gmbnomis/uboot-mdb-dump.git
You are now ready to continue to part 2!
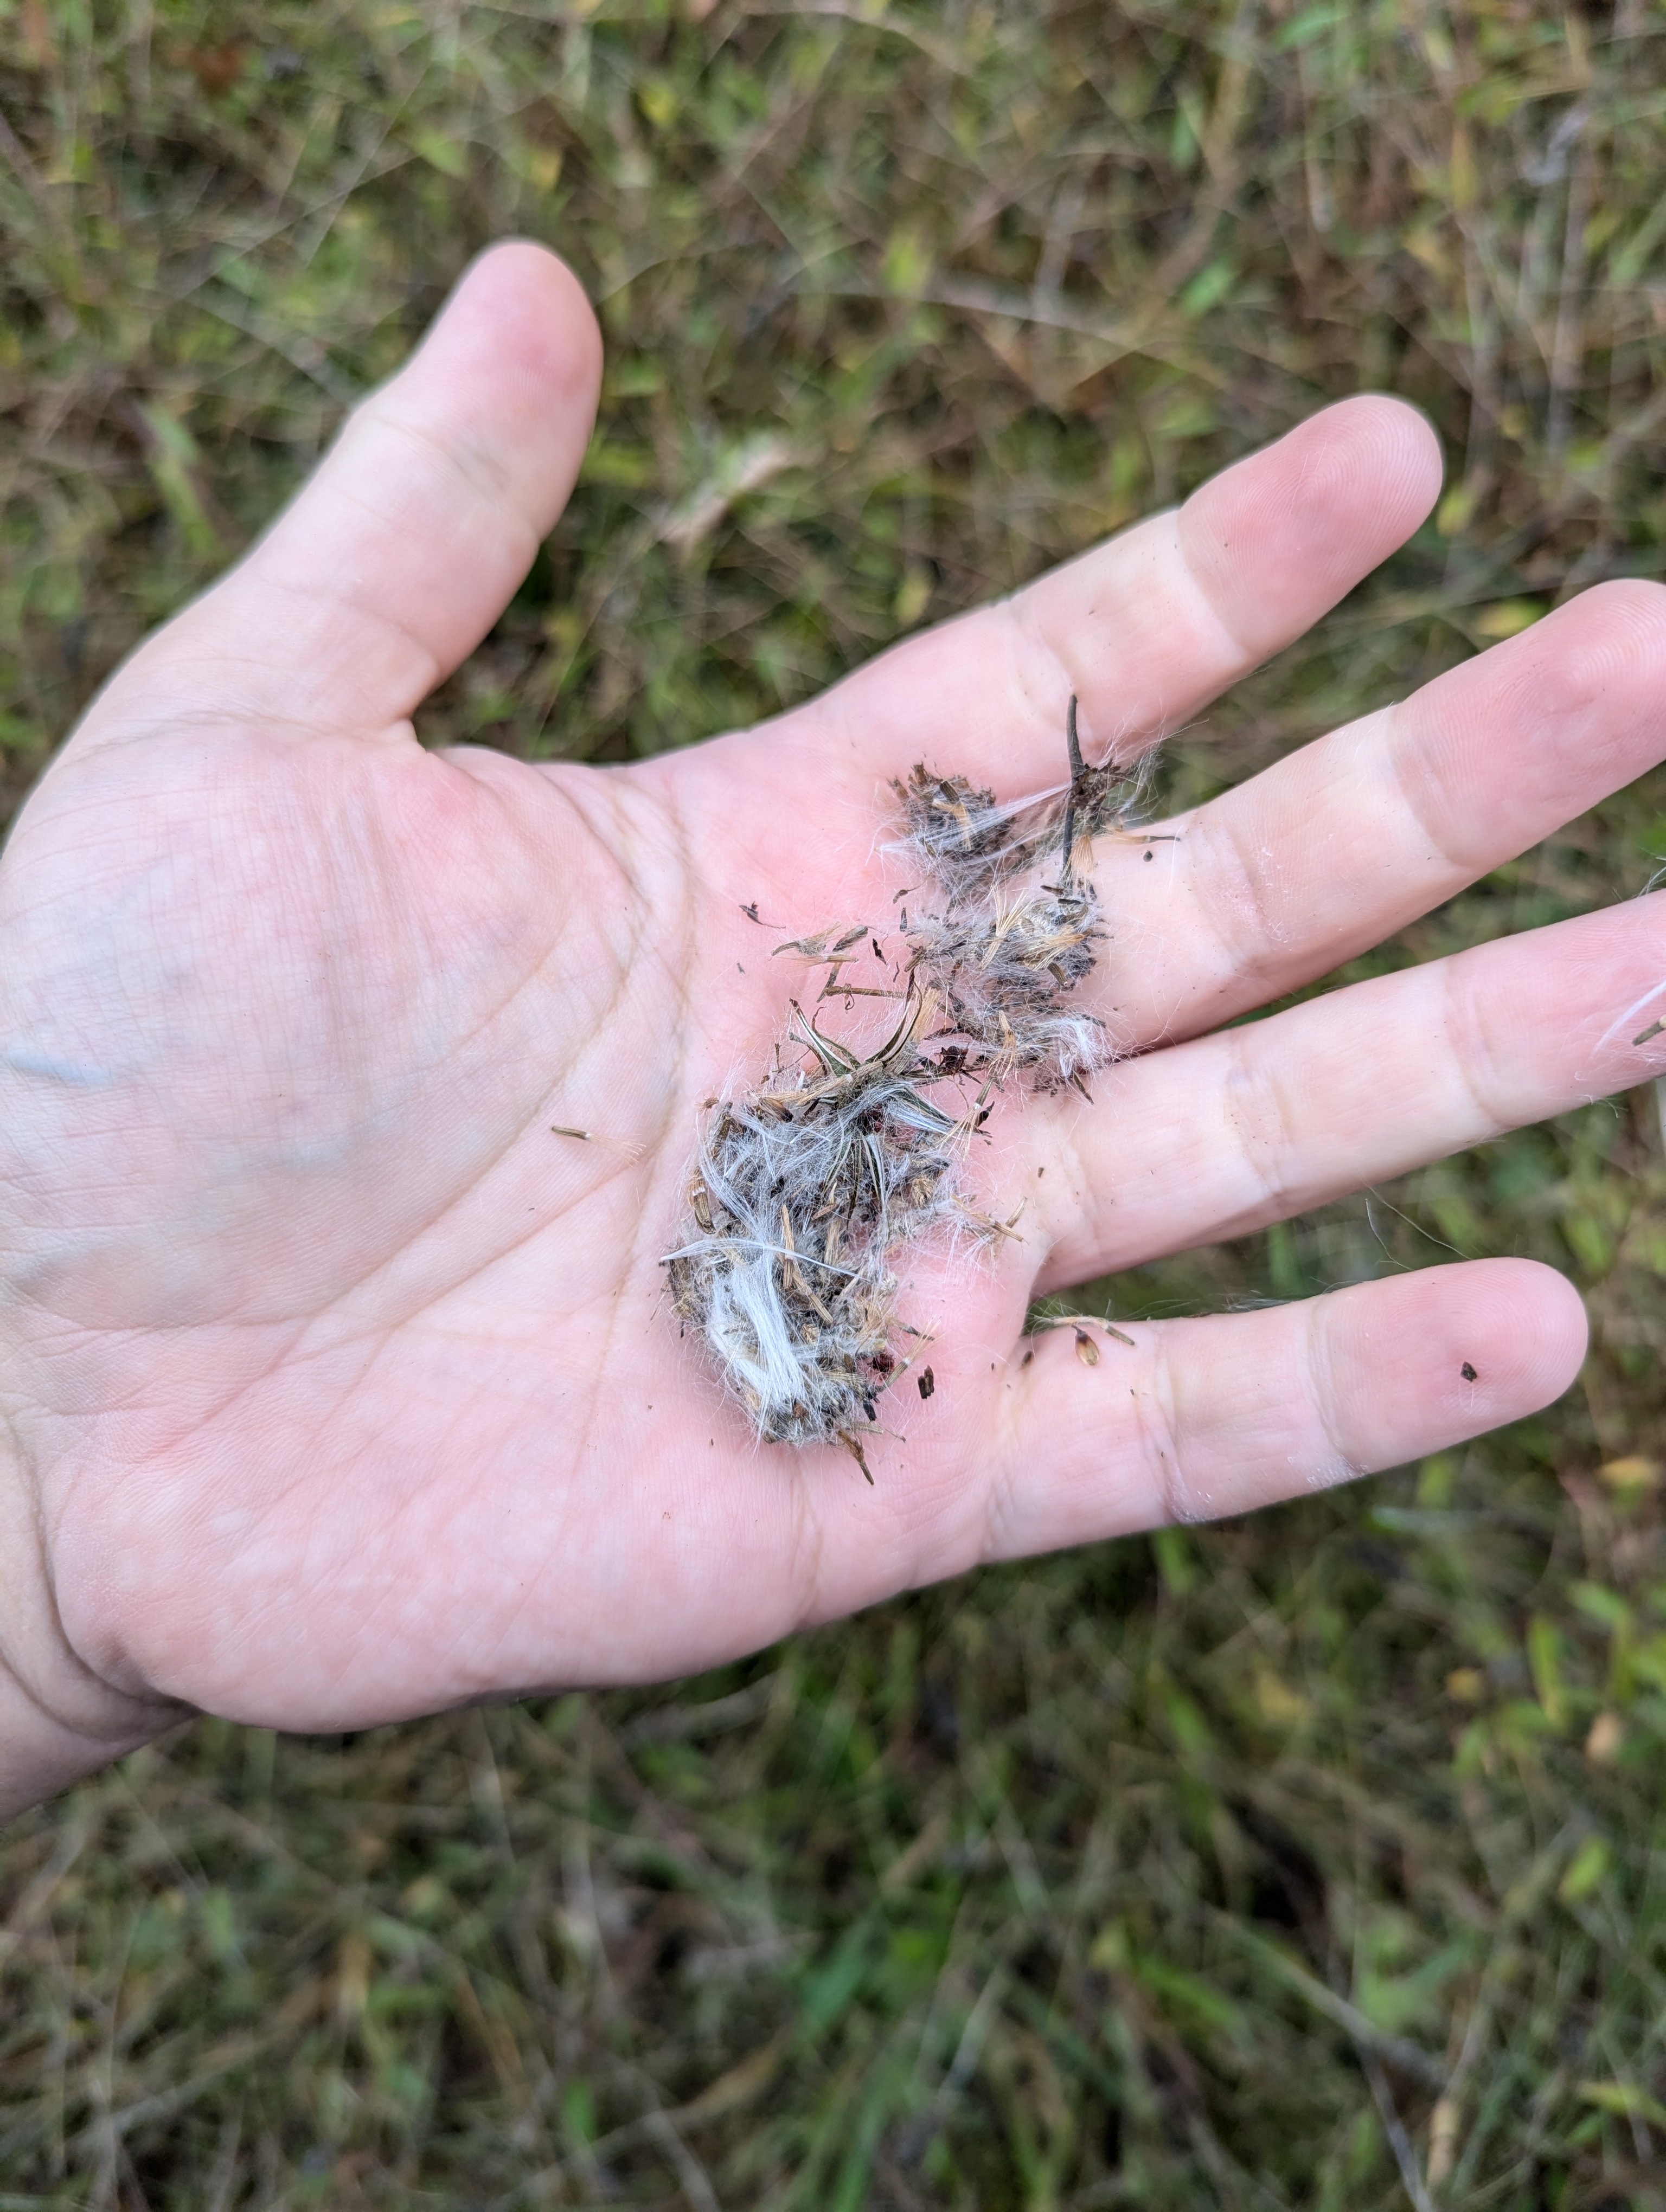
 The motor controller outputs more than enough power for a 9g servo, that servo rotates the control horn releasing the rubber band and flinging seeds. Depending on the type of seeds they can be wind dispersed or scattered by gravity alone, below is an example of wind dispersed